How to Photograph Street Art Without Washing Out Colors or Losing Location Context
A good mural photograph does two jobs at once: it shows what the paint actually looks like, and it shows where the paint lives. Most attempts fail on one side or the other. Either the colors come back neon and flat, or the frame is so tight the piece could be anywhere — a studio wall, a warehouse, a render. Getting both right has little to do with expensive gear. It comes down to the light you choose, the highlights you protect, the second frame you remember to take, and the two minutes you spend writing down where you stood.
Read the Light Before You Touch the Dial
Paint on a wall is a large, flat, often glossy surface, and light behaves on it in ways that surprise people. Soft, even light is your friend. An overcast sky, or the open shade thrown by a building across the street, evens out the whole face of a mural and lets the colors read as they were mixed. If you get a grey day on a mural trip, don't wait for sun. Go now.
Hard midday sun does three unhelpful things at once: it puts a sheen across semi-gloss paint, it throws the shadows of cables, balconies and street signs onto the artwork, and it darkens any recessed doorway. It does, however, reveal the texture of brick and render, which is sometimes the point. Decide which you want before you raise the camera.
Golden hour is seductive and slightly treacherous. The warm cast shifts blues toward grey and can turn a careful violet into something muddy. On aged brick it looks wonderful; on a freshly painted geometric piece in cool tones it can be wrong. Check which way the wall faces. A north-facing wall in the northern hemisphere rarely takes direct sun, which makes it evenly lit all day — reliable for color, but plan for slower shutter speeds.
Settings That Keep Paint Colors Honest
Shoot RAW. This is the single decision that gives you room to fix a white balance mistake later without wrecking the file. Beyond that:
- ISO: as low as you can. Flat paint shows noise badly in smooth gradients.
- Aperture: around f/5.6 to f/8 for a full wall shot, keeping the corners sharp. Open up only if the light is failing.
- Exposure: bright yellows, whites and saturated reds clip before anything else. Watch the histogram and keep the highlights just short of the right edge. On a sunny day, dropping exposure by a third or two-thirds of a stop is often the difference between detail in the paint and a blown white patch.
- White balance: set it manually or lock a custom value. Auto white balance drifts between frames, and a set of five mural shots that each lean a different color looks careless. A small grey card is cheap and settles the question in one frame.
- Bracketing: if a mural sits half in sun and half in shadow, take three frames a stop apart rather than gambling on one.
Two accessories deserve a mention. A polarizer can cut glare from glossy paint and from shop windows you're shooting past, but it costs light and can darken a blue sky unevenly on a wide lens — test it, don't default to it. And turn off stabilization when the camera is on a tripod.
Shoot Two Frames, Not One
The most common mistake is treating the mural as a poster to be copied. It isn't. Give yourself a clean recording frame and a context frame, at minimum.
The clean frame is shot square to the wall, camera level, mural filling the frame with a small margin. Keep the camera back parallel to the wall; if you can't fit it all in, back up rather than tilting upward. Tilting produces converging verticals, and while you can correct them later, you lose edges and sharpness. With an ultra-wide lens, keep important parts of the artwork away from the corners, where stretching is worst.
The context frame is the one people forget. Stand across the street at a three-quarter angle and include the corner of the building, the drainpipe, the shopfront below, the curb, a street sign, a parked bicycle, someone walking past. A person in the frame gives scale in a way nothing else does — wait for a passerby rather than directing one, and never stand in the road to get the shot.
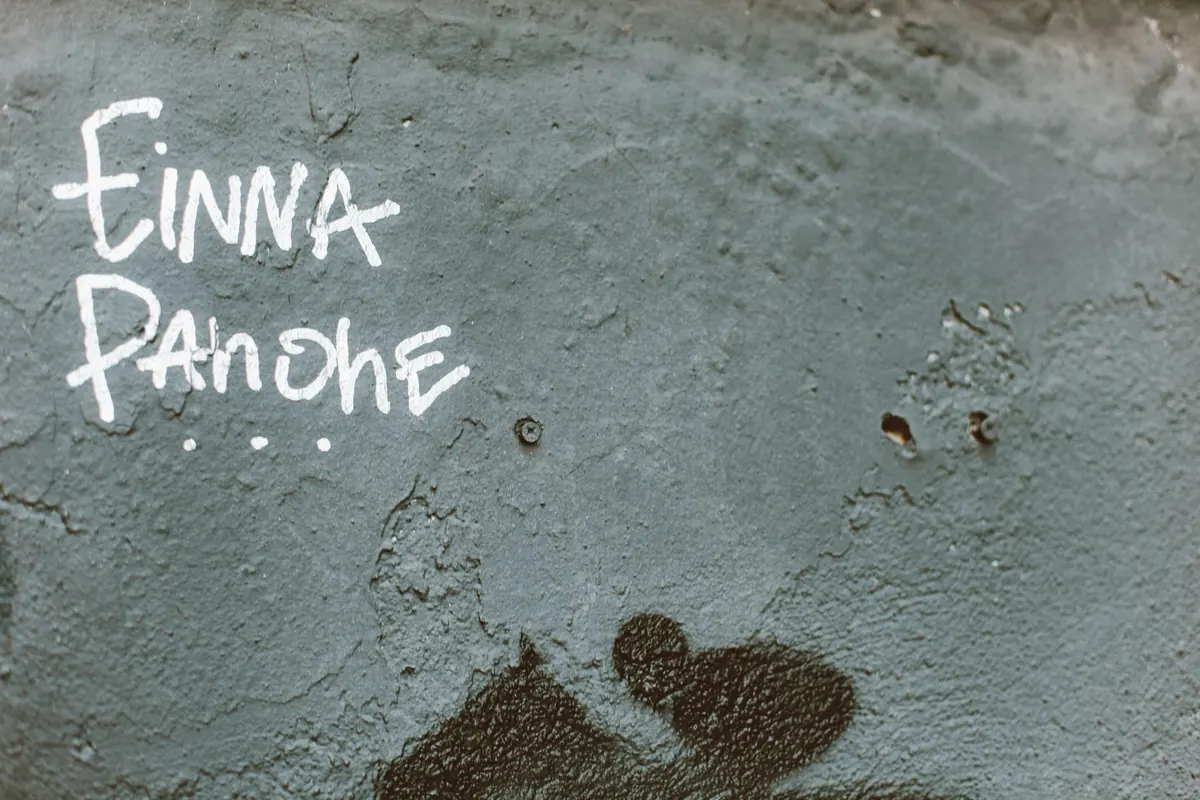
Then take a few detail frames: the artist's signature or tag, a hand-painted edge where the mural meets bare brick, a section where the paint has begun to peel. Those are the images that make a set feel like reporting rather than collecting.
Keeping Location Context in the Frame — and in Your Notes
A photograph can carry only so much of a place. The rest you have to record yourself, and you have to do it on the spot. Notes written three days later are almost always wrong about which corner the mural was on.
For each piece, capture the street name and the nearest cross street, the neighborhood and city, the date, and where the signature sits on the wall. If the mural has a title painted into it, note it. A thirty-second voice memo as you walk away is faster than typing and captures details you'd otherwise lose.
Geotagging is useful and worth a moment's thought. For a commissioned piece on a busy commercial street, an exact pin helps people find and credit the work. For something informal on a quiet residential wall, an exact pin can bring unwanted attention to a building owner or hasten the buff. Use judgment, and consider rounding the location to the block.
Editing Without Inventing a Different Painting
The goal is a file that matches what you saw, not a file that out-competes it. Lift the shadows, recover the highlights, correct the white balance against your grey card frame, apply lens and leveling corrections, and stop.
Resist the saturation slider. Mural colors are already at the edge of what a sensor records, and pushing them further flattens the subtle shifts an artist spent days painting. Clarity and texture sliders are similarly risky on flat walls — overdo them and smooth paint turns mottled and gritty. Sharpen last, after resizing, and keep one neutral "documentation" version of each mural alongside the version you'd show. The neutral one is the record; the other is the interpretation.
Ethics on Someone Else's Street
You are a guest on that pavement, and the photograph will outlast the mural.
- Don't block doorways, driveways or bus stops, and don't stand in traffic for a better angle.
- Ask before shooting into a yard, a courtyard or through a window, even if the mural is visible from the street.
- Credit the artist by name wherever you know it, and name the street and city too. A caption that says only "beautiful mural" does the work a disservice.
- Don't move bins, plants or furniture to clean up a frame. The clutter is part of where the piece lives.
- Respect residents. If someone asks what you're doing, tell them plainly.
A Field Checklist for Mural Days
- Check the wall's orientation and the forecast; overcast is a gift, not a postponement.
- Set RAW, base ISO, f/8, and a fixed white balance. Shoot one frame with the grey card.
- Watch the histogram; protect the yellows and whites.
- Shoot the context frame first, before you get absorbed in the artwork.
- Shoot the clean square-on frame, camera level, with margin around the edges.
- Shoot the signature, the edges and one detail of wear.
- Record street, cross street, city, date and artist while you're still standing there.
- Decide about the geotag before you post, not after.
Do that consistently and your archive will do something most street art photography doesn't: it will let someone who never visited that street understand both the painting and the place it was painted for.
Photo: Mihail_hukuna / Pixabay